Getting Started with Cross-Stitch Basics
Learn the essential stitches, fabric types, and tools you'll need. This guide covers everything a complete beginner should know before starting their first project.

Why Cross-Stitch Is Worth Your Time
Cross-stitch isn't just a hobby—it's a skill that's genuinely easy to learn and deeply satisfying to practice. You don't need years of training or expensive equipment. What you need is patience, the right materials, and a clear understanding of the fundamentals.
The beautiful part? You'll see real progress within your first few hours. Your stitches will improve dramatically over your first week. By month two, you'll be completing projects that look genuinely professional.
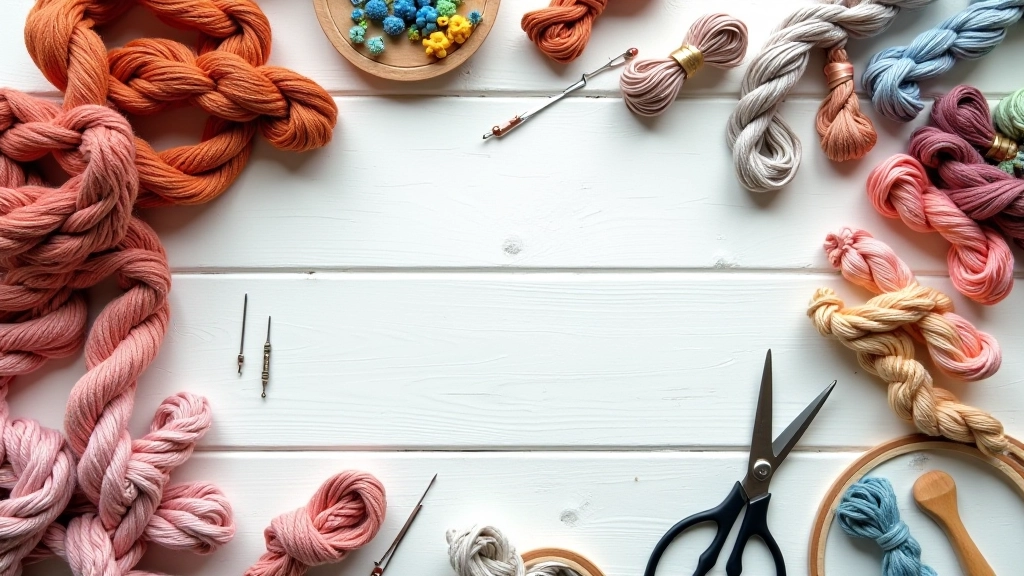
Essential Tools You Actually Need
Here's the good news: you don't need much to start. Most beginners overspend on supplies they'll never use. We're focusing on the core items that genuinely matter.
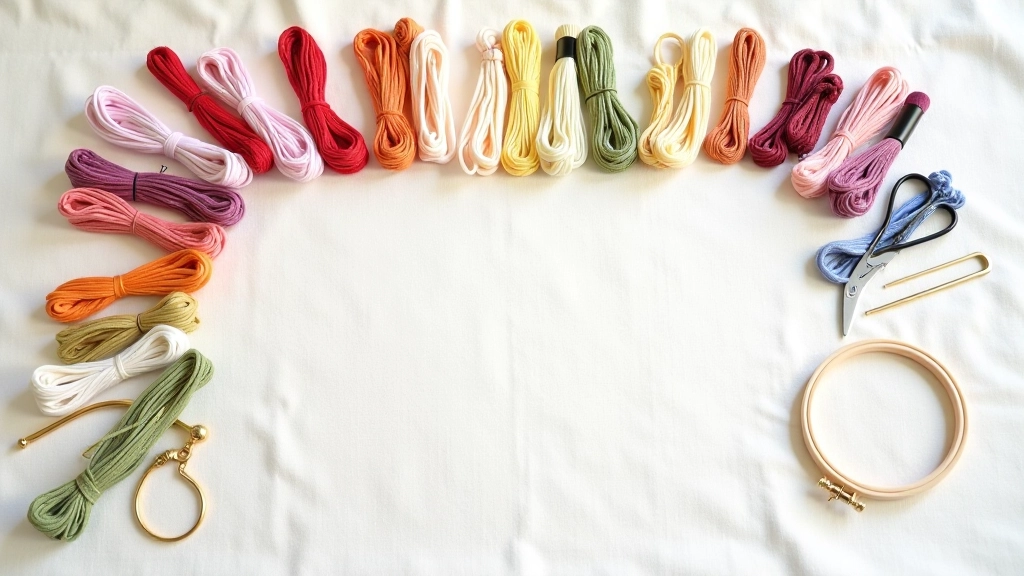
Embroidery Floss
Six-strand cotton thread. You'll want at least 20-30 colors to start. Quality matters here—DMC is the industry standard and worth the investment. One skein costs around 25-50p and covers dozens of small projects.
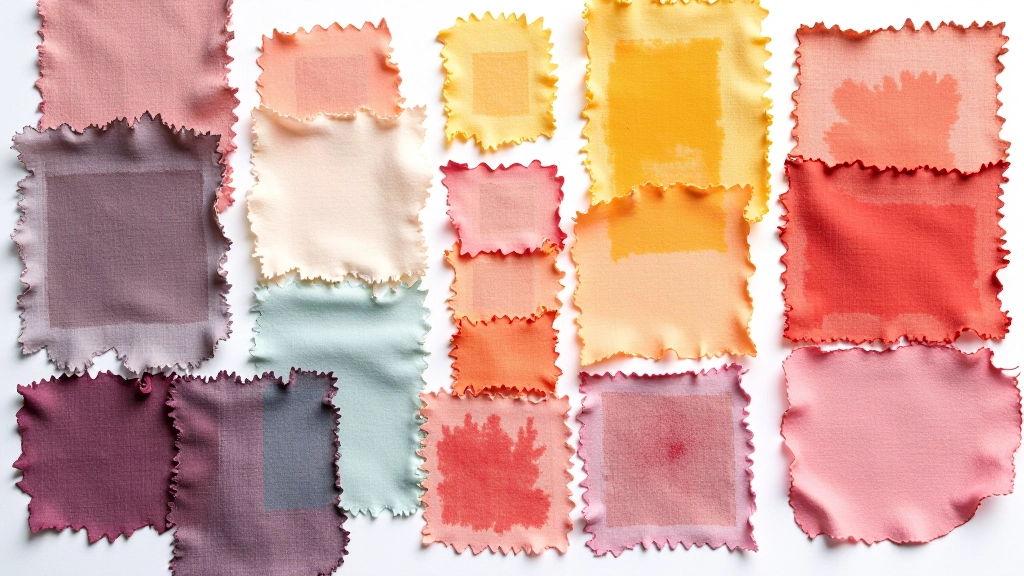
Fabric
Aida cloth (14-count) is perfect for beginners. The holes are visible and evenly spaced, making it nearly impossible to stitch in the wrong spot. One fat quarter costs £2-4 and gives you plenty of material for practice.
Embroidery Hoop
A 6-8 inch hoop keeps fabric taut while you work. Bamboo hoops are affordable (£1-2) and durable. You'll probably want 2-3 as you progress, but honestly one is enough to start.
Needles
Size 24 tapestry needles are standard. They're blunt (so they won't split existing threads) and have large eyes (easier to thread). A pack of 5-10 costs under £2.
Scissors
Sharp embroidery scissors are essential. Don't use your regular kitchen scissors—they'll damage the delicate floss. A decent pair costs £4-8 and will last years.
Needle Threader
Optional but genuinely helpful. Threading six-strand floss can be fiddly. A metal threader costs about 50p and saves frustration.
Starter Kit Total:
£20-35
This covers everything you need for your first 10+ projects. Quality basics beat expensive gadgets every time.
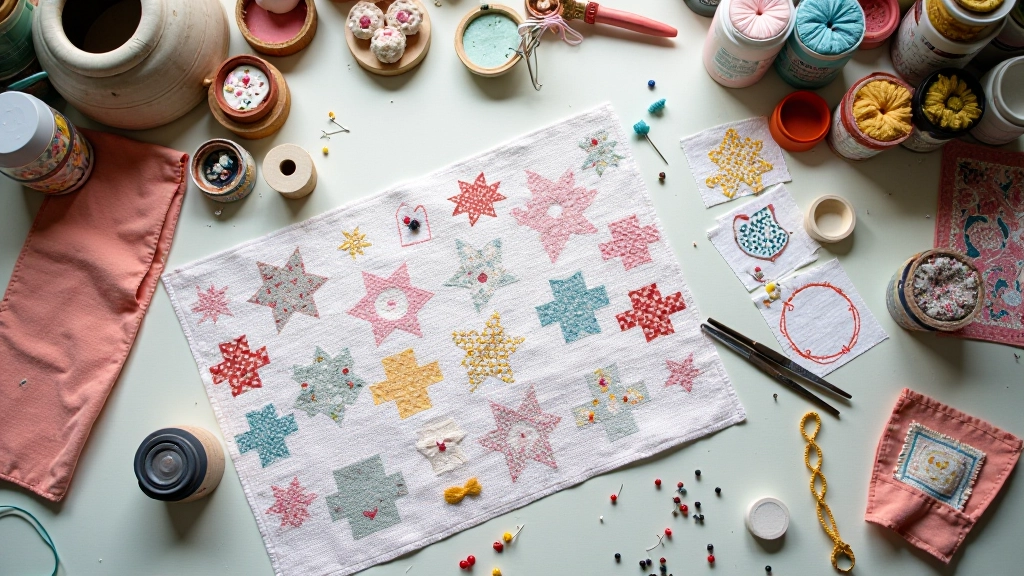
The Core Stitches You'll Master First
Most cross-stitch projects use only 3-4 core stitches. Master these and you'll complete 90% of beginner patterns. It's simpler than it sounds.
The Cross-Stitch
This is it—the fundamental stitch everything's named after. You'll make an X by crossing diagonally from bottom-left to top-right, then top-left to bottom-right. Keep tension consistent and your Xs will look uniform. Most projects use this stitch 80% of the time.
The Backstitch
Used for outlines and fine details. You'll go forward one hole, then back one hole, then forward two. It creates a solid line and takes practice to keep straight, but it's worth learning properly. Most patterns use backstitch for lettering or borders.
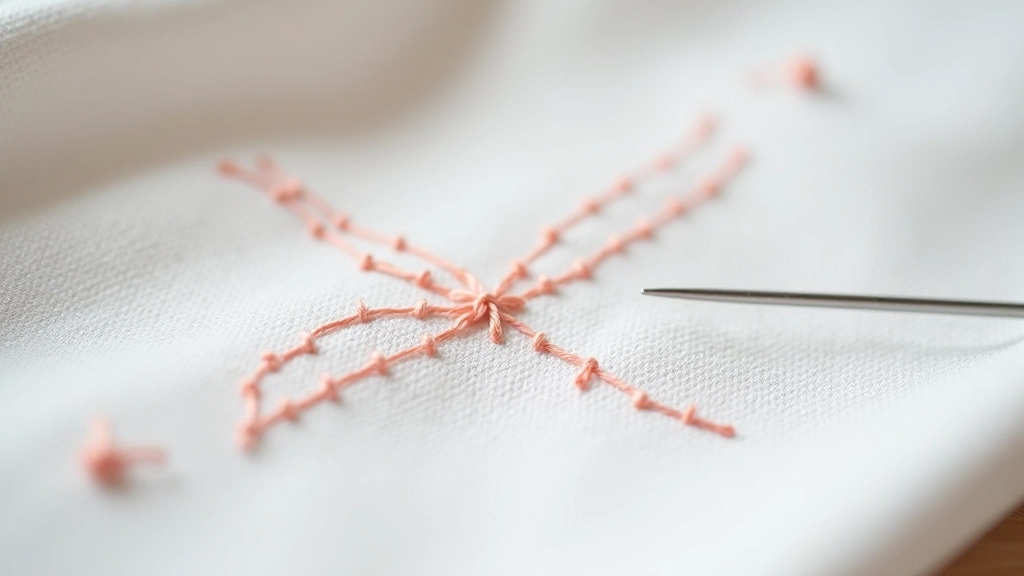
The French Knot
Creates small dots and texture. Wrap the floss around your needle, push through the fabric next to where you came up. Sounds odd but feels natural once you've done it five times. Use for flower centers, eyes, or decorative detail.
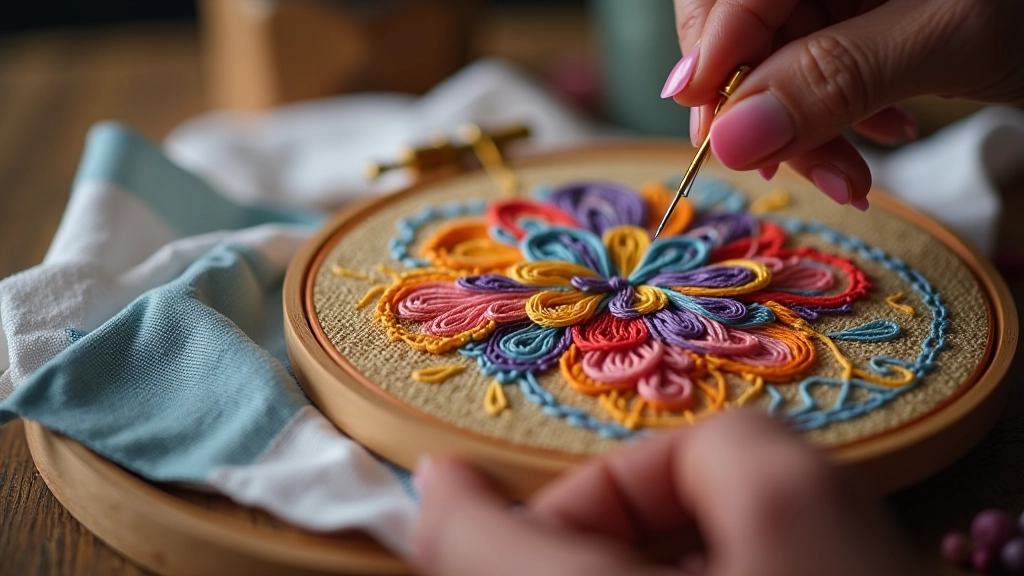
Techniques That Actually Make a Difference
Thread Separation
Floss comes as six strands twisted together. Separate them completely before threading your needle. This prevents the thread from looking bulky and lets light catch your stitches better. Takes five seconds but transforms your finished work.
Consistent Tension
Pull your thread with even pressure every stitch. Too loose and it looks floppy. Too tight and you'll warp the fabric. You'll find your rhythm within an hour. It's muscle memory more than anything else.
Anchoring Your Thread
Don't use knots—they create bumps on the back. Instead, leave a short tail and weave your needle through the back of your stitches to secure it. Or hold the tail under your first few stitches. Much cleaner finish.
Blocking Your Finished Work
After you're done, gently steam or wet-block your piece to straighten any fabric distortion. Place it on a clean towel, lightly steam it, and let it dry flat. This is what makes amateur work look professional.
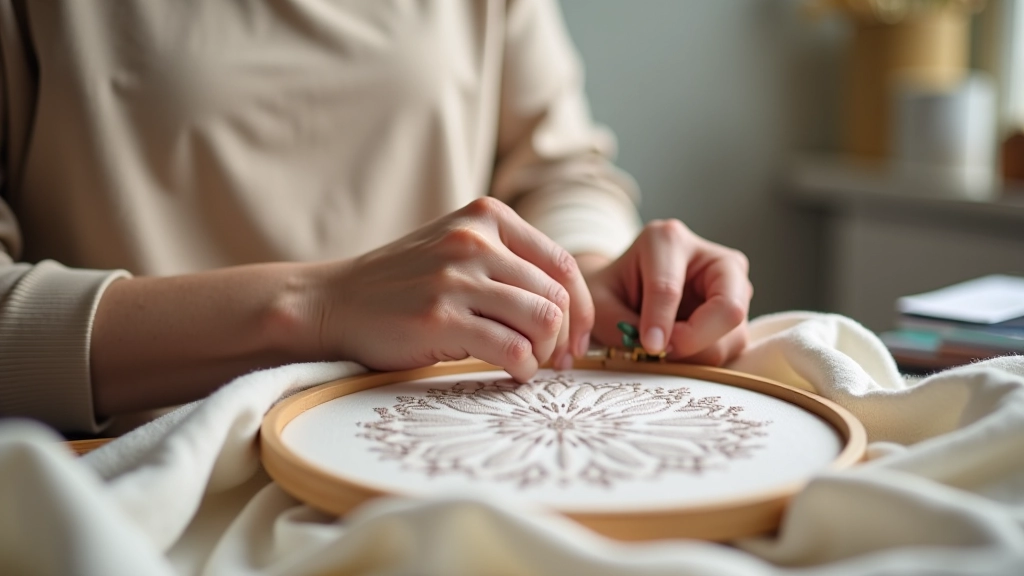
Your Next Steps
You've got the knowledge now. The only thing left is to start. Grab your materials—they won't cost much—and pick a simple pattern. Look for designs with fewer than 5 colors. Work through your first cross-stitch. It won't be perfect and that's fine.
By project three, you'll notice real improvement. By project ten, you'll be creating work you're genuinely proud to display. The skill compounds fast. Don't wait for the perfect moment or perfect supplies. Start this week.
Important Note
This guide is intended for educational purposes. While the techniques and information presented are accurate and based on established cross-stitch practices, individual results may vary depending on your skill level, materials used, and practice frequency. Different stitchers develop different styles and preferences over time. If you have specific health concerns related to repetitive activities or vision, please consult appropriate professionals before beginning any new craft hobby.