
Getting Started: What You Actually Need
The best thing about quilting? You don't need much to begin. A lot of tutorials make it sound like you need a room full of equipment and hundreds of pounds worth of fabric. That's not true. I've seen brilliant quilts made with basic supplies and scrap fabric.
You'll need a rotary cutter, a self-healing mat, a quilting ruler, fabric scissors, thread, a sewing machine, and cotton fabric. That's genuinely it. Most of this costs under £50 if you're buying budget versions. Start there. Once you've made a quilt or two and know you want to keep going, you can invest in nicer tools.
Essential Tools Checklist
- Rotary cutter (18mm or 45mm)
- Self-healing cutting mat (A3 minimum)
- Quilting ruler (6×24 inches)
- Fabric scissors (sharp, dedicated to fabric only)
- Sewing machine with 1/4 inch foot
- Thread (polyester or cotton, 50-weight)
- 100% cotton quilting fabric
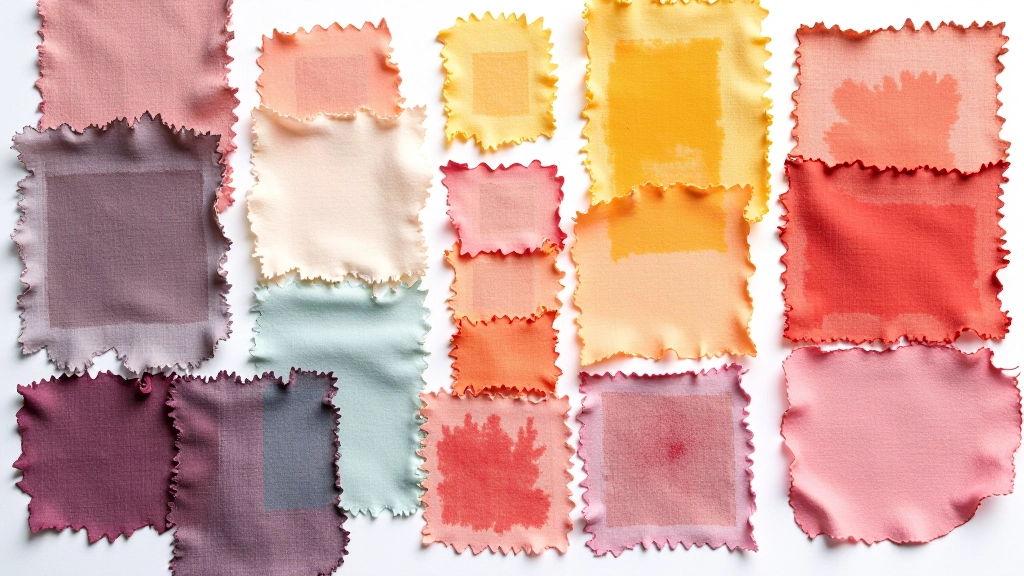
Choosing Your Fabric
Cotton is your friend. It's forgiving, it presses well, and it holds its shape. Avoid blends and stretchy fabrics when you're starting out — they'll drive you mad. Quality matters, but you don't need designer brands. Fat quarters from your local fabric shop work perfectly fine for your first project.
Look for fabric that's 100% cotton and has a decent weave. Hold it up to the light — you shouldn't see gaps between threads. Most quilting cotton costs between £7-12 per meter. A simple quilt top needs about 2-3 meters of fabric depending on the pattern.
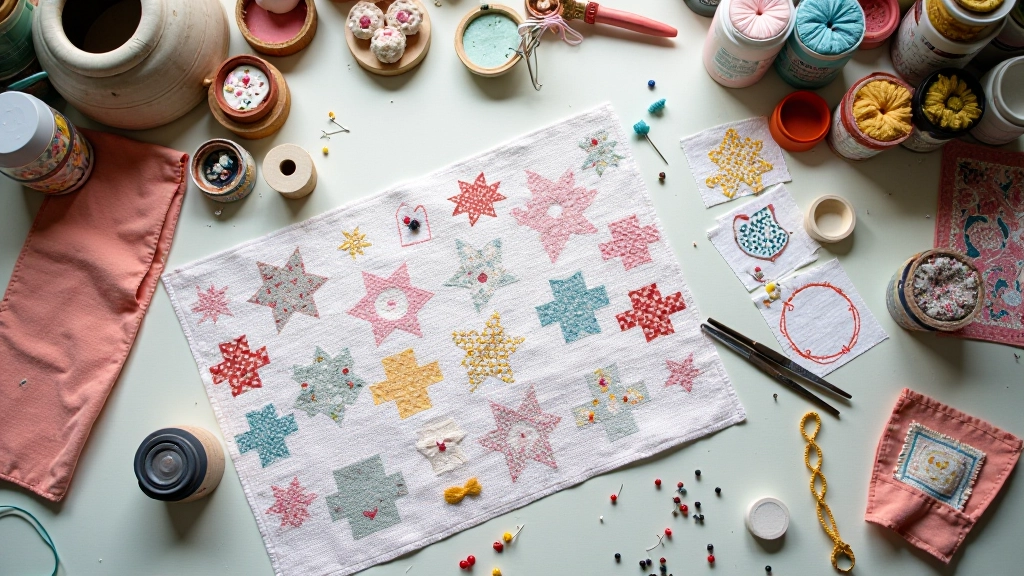
Simple Patterns to Start With
Don't jump into complex designs. Nine-patch and strip piecing are your friends. They're straightforward, they teach you the basics, and they look genuinely good when you're done. You'll get accurate seams, understand fabric grain, and build confidence.
The Nine-Patch: Your First Pattern
Nine-patch is literally 9 squares arranged in a grid. Cut 9 squares from your fabric, sew them into rows, then sew the rows together. If you get this right, everything else is easier. The trick is maintaining consistent 1/4 inch seams. That's the whole game with quilting.
Make your first nine-patch 12 inches finished. That's big enough to see what you're doing but not so big that mistakes feel catastrophic. You'll probably make 4-6 of these blocks for a small wall hanging, and it'll take you 4-6 hours if you're taking your time.
Piecing Technique: The Foundation
-
1
Cut Your Pieces Accurately
Use your rotary cutter and ruler. Measure twice, cut once. For nine-patch blocks, cut 2.5 inch squares (they'll finish at 2 inches). Precision here matters because small errors compound.
-
2
Arrange Your Pieces
Lay all 9 squares out in a 3×3 grid. Take a photo with your phone so you remember the arrangement. This sounds silly but it genuinely helps.
-
3
Sew Into Rows
Sew the first 3 squares into a row using 1/4 inch seams. Chain piece them (don't cut the thread between pieces). Do this for all three rows.
-
4
Press and Nest
Press each row flat. Alternate which direction you press seams (first row one way, second row the opposite). This reduces bulk when rows meet.
-
5
Join the Rows
Sew rows together, matching seams where they meet. You'll feel a little click when seams nest properly. That click is satisfying.
The 1/4 Inch Seam: Why It Matters
This is the thing that separates successful quilts from frustrating projects. A 1/4 inch seam allowance is the quilting standard. Your sewing machine needs a 1/4 inch foot — it's a special foot that measures exactly 1/4 inch from the needle to the edge. Cost? About £8-15. Worth every penny.
Without it, you're eyeballing seams, and your blocks won't line up. You'll end up with a quilt that looks wonky even if the piecing is actually decent. Get the foot. Use it. Your sanity depends on it.
Assembling Your Quilt Top
Once your blocks are done, you arrange them into a larger grid. A simple quilt might be 4 blocks across and 5 blocks down. Lay them out, photograph them, then sew them together in rows again. It's the same process you used for nine-patch, just at a bigger scale.
Add borders if you want (strips of fabric around the edge). This frames your quilt and can cover small mistakes. A 2-inch border is usually enough. Press everything well before moving to the next step.
Common Mistakes and How to Avoid Them
You'll make mistakes. Everyone does. The difference between experienced quilters and beginners isn't that experts don't make errors — it's that they know how to fix them without starting over.
Uneven Seams
Your seams aren't 1/4 inch consistently. Solution: Get a 1/4 inch foot and practice on scrap fabric before your actual project. Do a test seam, measure it, adjust if needed.
Blocks Don't Match Up
Seams aren't pressed correctly or blocks are cut at slightly different sizes. Press seams as you go, not at the end. Use a ruler to check block size before joining.
Fabric Puckering
You're pulling the fabric through the machine. Don't pull — let the feed dogs do the work. Keep your hands light and guide, don't force.
Wrong Thread Tension
Stitches look loose or bunched. Test on scrap fabric first. Adjust tension slowly — usually only 1-2 clicks makes a difference.
What Comes Next
Once your quilt top is assembled, you'll layer it with batting and backing fabric, then quilt it (sew through all three layers). That's the next step, but honestly? Just making a quilt top is an achievement. Don't rush. Enjoy the process, make it slowly, and take photos as you go.
Your first quilt will be imperfect. That's not just okay — that's perfect. It'll have character. You'll see the seams where they don't quite match, and nobody else will care because they're too busy being impressed that you made a whole quilt.