Modern Embroidery Patterns & Design
Move beyond traditional patterns. Learn how to create contemporary designs, use colour effectively, and bring your own artistic vision to embroidery projects.

Breaking Away from Traditional Designs
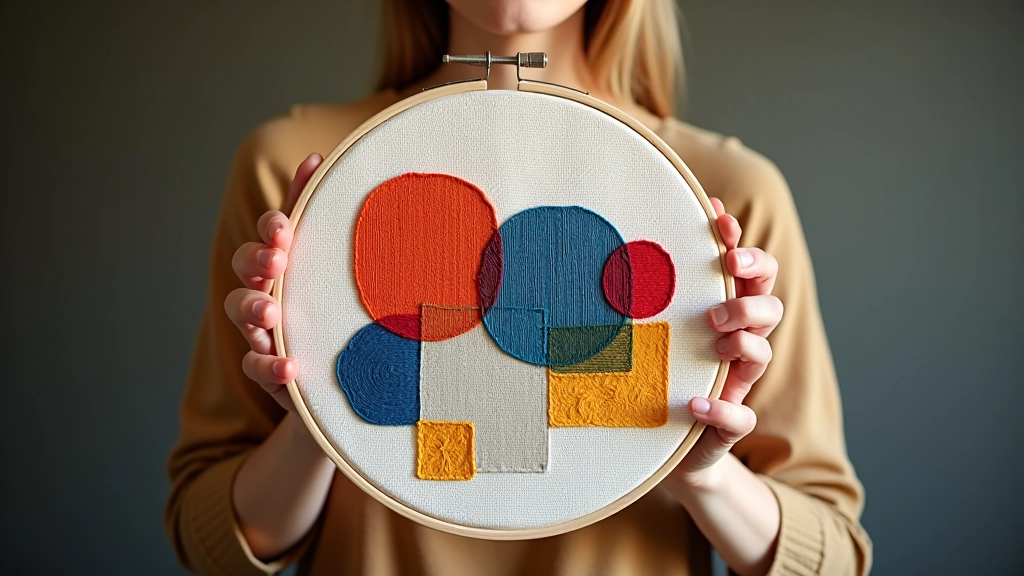
Contemporary embroidery isn't about copying Victorian florals or ancient patterns. It's about expressing yourself through thread. You'll see geometric shapes, abstract compositions, and bold colour combinations that wouldn't have appeared in a needlework shop fifty years ago.
The shift happened gradually. Embroidery artists started experimenting with minimalist designs, negative space, and unconventional colour palettes. What started as rebellion against tradition became a whole new movement. Today, you can create anything you imagine — from textured landscapes to modern calligraphy to political statements.
Key difference: Modern embroidery isn't about perfection. Slight irregularities, visible knots, and bold stitching are part of the aesthetic. It's raw and authentic.
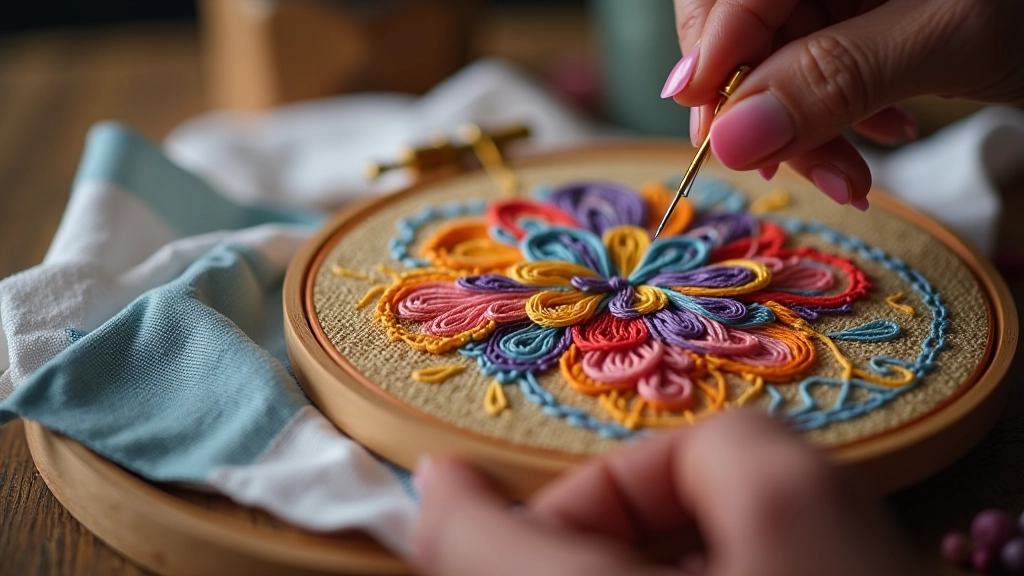
Essential Techniques for Modern Work
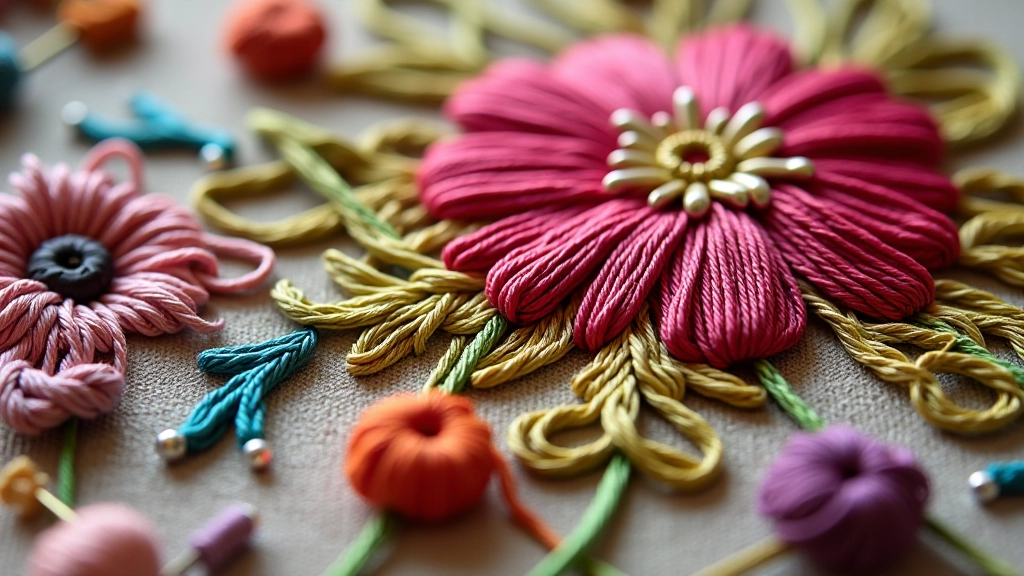
You'll want to master a few core stitches. Back stitch gives you clean lines for outlines and lettering. Split stitch creates texture and definition. Long and short stitch blends colours beautifully for shading — it's perfect for creating gradients and depth.
But here's the thing: modern embroidery often breaks these rules deliberately. Overlapping stitches, mixing stitch types in one area, and leaving threads loose on purpose all create character. You're not aiming for museum-quality precision. You're aiming for impact.
- Back stitch for clean, defined lines
- Split stitch for textured fills and lettering
- Long and short stitch for colour blending
- Running stitch for quick fills and effects
- French knots for texture and focal points
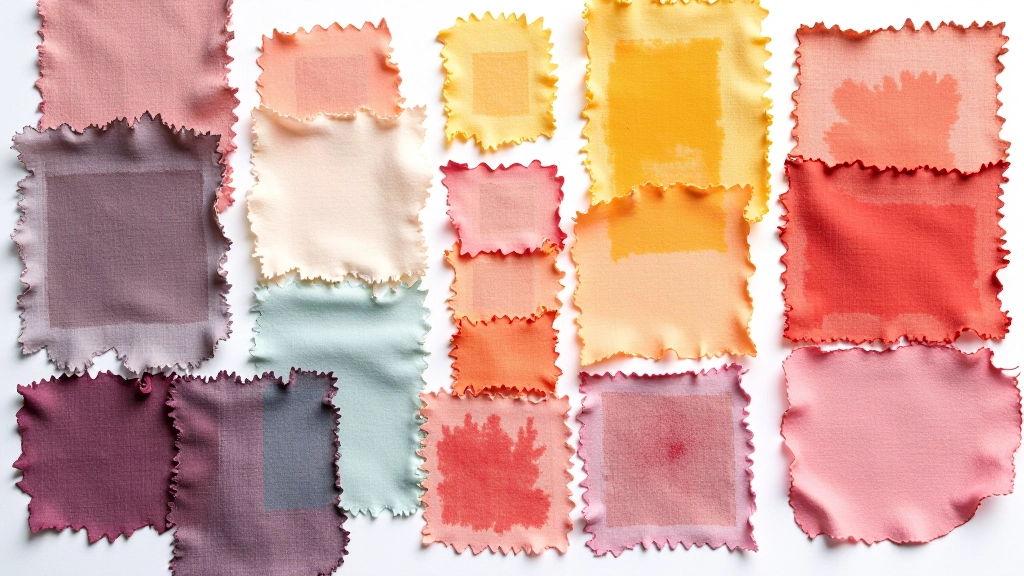
Colour is Your Superpower
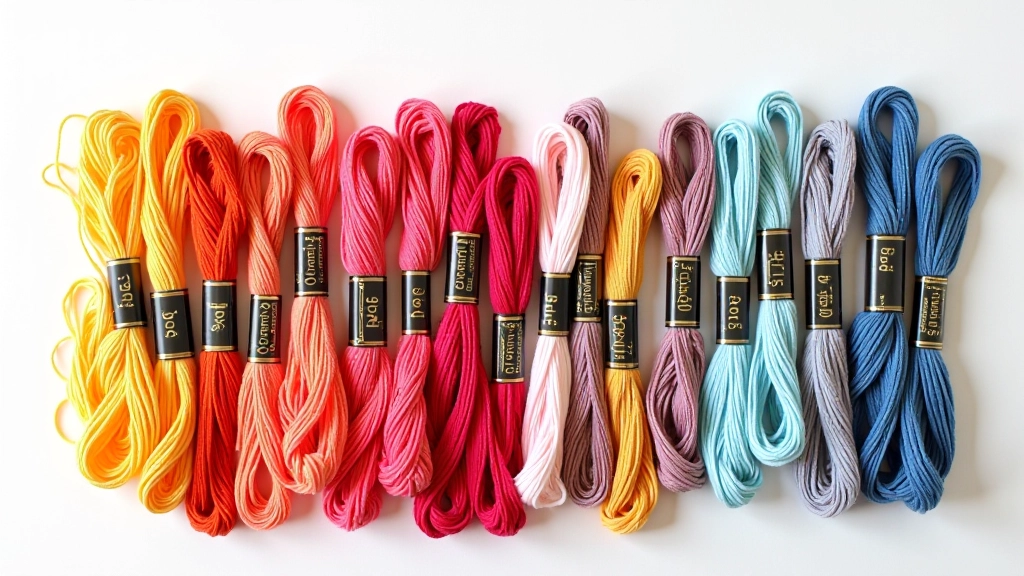
This is where modern embroidery truly shines. Instead of matching thread to realistic colours, you're choosing colours for impact. A sunset might be purple and orange instead of orange and pink. A plant could be teal and lime green. You're creating mood, not accuracy.
Start with a limited palette — three or four colours work beautifully. This creates cohesion and forces you to be intentional about each colour choice. Once you're confident, you can expand to five or six colours. Most contemporary pieces use between 3-8 thread colours, never 30 or 40 like some traditional patterns require.
Don't overthink it. Pick colours you love, even if they seem strange together. Unexpected combinations often work brilliantly. That's the joy of modern embroidery — you're following your instinct, not a rulebook.
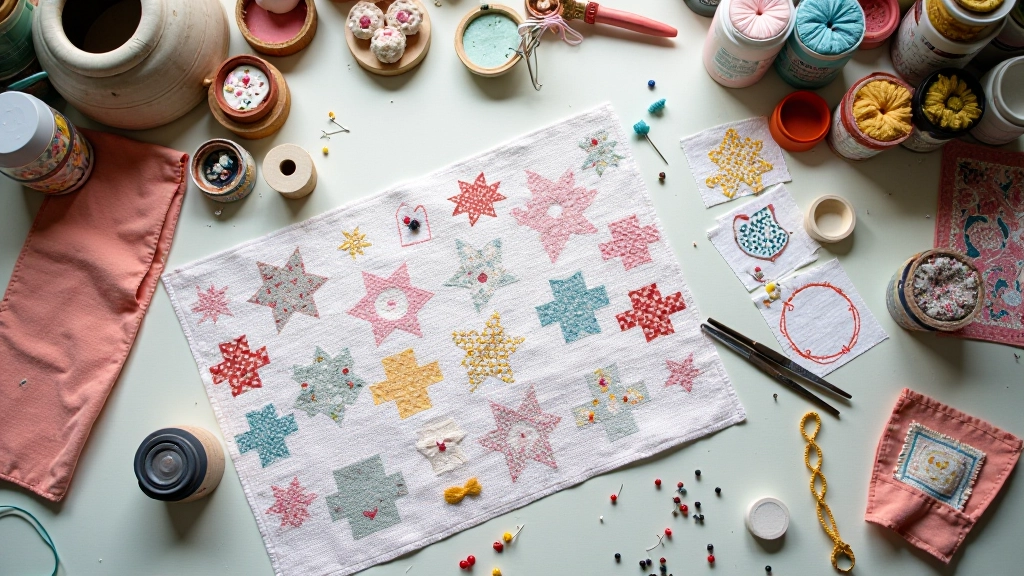
Creating Your Own Designs
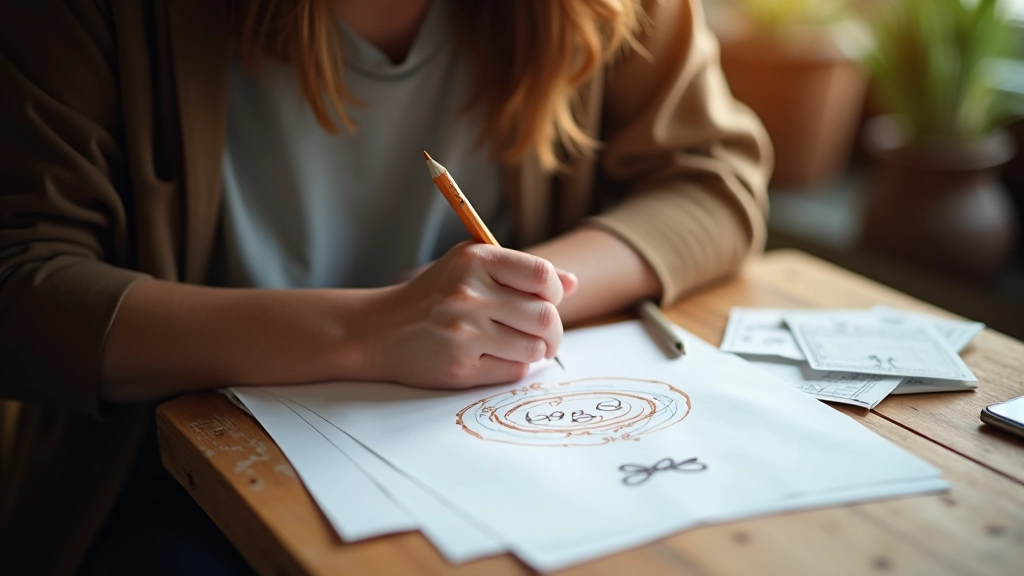
You don't need to be an artist. Start simple. Sketch directly on your fabric with a water-soluble pen. Geometric shapes — triangles, circles, lines, grids — are incredibly forgiving. You can create something striking with just a few repeated shapes and thoughtful colour choices.
Or use existing resources as starting points. Take a photograph, simplify it to basic shapes, and embroider those shapes. A landscape becomes triangles and rectangles. A face becomes circles and lines. The abstraction is part of the modern aesthetic.
Many embroiderers work from inspiration rather than strict patterns. You see a photograph you love, sketch the main elements, and embroider based on that sketch. This approach gives you freedom and creates something uniquely yours. It takes practice, but after a few pieces, you'll develop your style.
Practical Steps to Start Modern Embroidery
1
Choose Your Base
Linen and cotton work beautifully. Natural fibres take thread well and feel authentic. Start with a 6-inch or 8-inch hoop — manageable size for learning.
2
Select Your Threads
Quality matters here. Six-strand embroidery floss gives you control over thread thickness. Pick 3-4 colours that feel cohesive, even if unusual together.
3
Design or Transfer
Sketch directly with a water-soluble pen, or transfer a simple design. Keep it minimal — fewer lines mean fewer mistakes and faster progress.
4
Start Stitching
Begin with outlines using back stitch. Fill areas with split stitch or long and short stitch. Don't aim for perfection — irregularities add character.
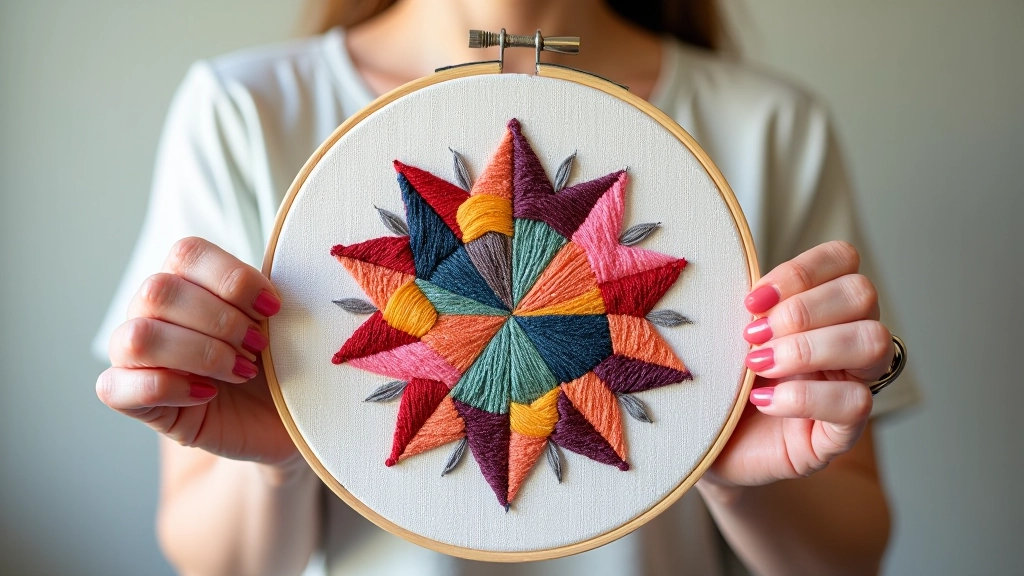
Your Modern Embroidery Journey
Modern embroidery is forgiving because it celebrates imperfection. Your wonky lines aren't mistakes — they're style. Your bold colour choices aren't risky — they're artistic decisions. You're creating something that's genuinely yours, not following a prescription written a century ago.
Start with a simple project. A 6-inch hoop with three colours and a basic geometric design. Complete it, step back, and appreciate what you've made. Then do another one. Each piece teaches you something — about tension, colour balance, design proportion, and your own preferences.
The embroidery community is genuinely supportive. Share your work, ask questions, and don't compare your beginning to someone else's middle. Everyone started with shaky stitches and colour combinations that didn't quite work. What matters is that you're creating, learning, and enjoying the process. That's what modern embroidery is really about.
Educational Information
This article provides educational information about modern embroidery techniques and design principles. Individual results may vary based on skill level, materials used, and practice. The techniques described are general guidelines — you may need to adapt them to your specific circumstances, materials, and learning pace. We recommend consulting additional resources and practising with scrap materials before starting projects you're particularly invested in.
Related Resources